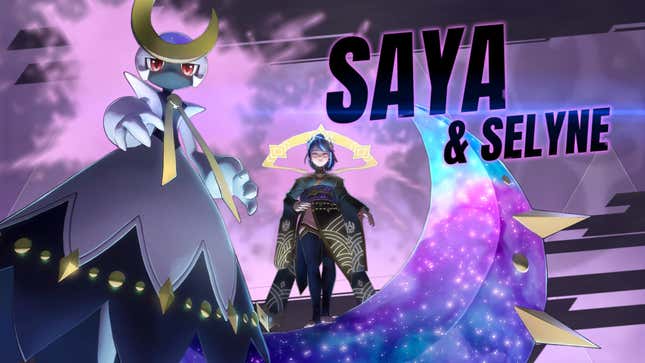
With all of the new challenges added on June 27th’s Palworld Sakurajima update, one of the most notable is the addition of a new faction leader. Saya is the head of the Moonflower faction and fights alongside her Pal, Selyne. Here’s everything you need to know to beat this leader.
Where to find Saya and Selyne

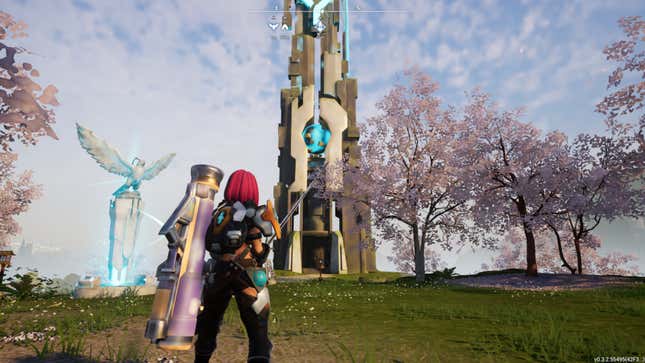
Unsurprisingly, you’ll need to venture to Sakurajima Island to find the tower these two are in. If you haven’t visited there yet, you can find it in the Northwest corner of the map. It’s Southwest of the Astral Mountains and North of the Forgotten Island to be more precise.
You’ll find the Moonflower Tower right in the heart of Sakurajima Island. Its coordinates are -597, 206. Just like the other Tower bosses, there’s also a handy fast travel point nearby for your convenience.
How to Defeat Saya and Selyne

Selyne is a Dark/Neutral Pal and the first to have that specific element combo. The Dark element covers the Neutral half’s weakness, meaning that Dragon-Types are the best choice here. You might have some Pals in mind to use since the strongest tower boss before this update was weak to Dragons too. If you need some inspiration, the following Pals are top choices for this fight:
- Jetragon
- Jormuntide
- Jormuntide Ignis
- Blazamut Ryu
- Astegon
While the initial set of Tower Bosses reached the previous level cap of 50, this fight is ranked at the current level cap of 55. I recommend bringing yourself close to that if you want to use the new technologies. Your Pals should also be near that level as well to stand a better chance.
If you’ve already outfitted yourself with Plasteel armor and new weapons such as the Laser Rifle or Guided Missile Launcher, you should be pretty set. Otherwise, just bring your best armor and weapons to the fight. Increasing your accessory slots will give you a lot more flexibility as well.
Read More: How to Increase Accessory Slots in Palworld
You’ll want to leave most of the heavy lifting here to your team of Pals while you shoot from afar. The good news is that getting headshots on Saya or Selyne is particularly easy since they’re positioned side-by-side.
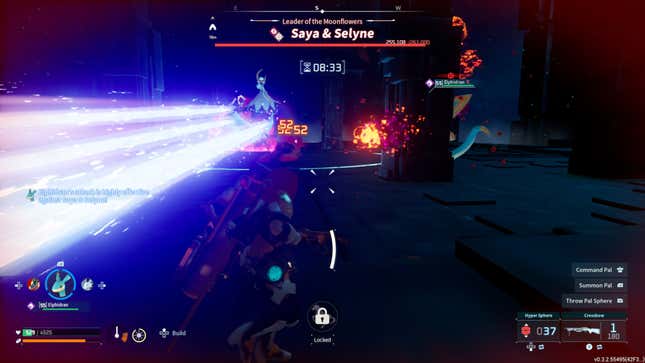
Selyne’s attacks are fast and likely to overwhelm you the first time around. Thankfully, it’s not too difficult to dodge them once you recognize the startup animations. Keep your distance and you shouldn’t have too much trouble. That being said, their exclusive Moonlight Beam attack is one to watch out for. You’ll know it’s coming when the crescent behind Selyne begins to glow and they move their body up above it.

As soon as you notice the beginning of this animation, start running to the side ASAP to dodge the obnoxiously large (but aesthetically pleasing) crescent-shaped barrage. Hiding behind the pillars sometimes helped me, but other times it managed to hit and shred my HP. Keeping on the move felt more reliable.
While the attacks are downright oppressive in terms of damage and visuals, your biggest challenge will be finishing this in ten minutes. There’s a lot of HP to bring down and you’ll need to watch out for some attacks that get around the pillars. Selyne is fortunately a bit on the slower side, which reinforces why you should stay as far away as possible.
Keep peppering the boss with shots while keeping an eye on your Pals. Their HP can get whittled down quickly, so don’t hesitate to call them back to help them avoid deadly attacks. Just make sure to send them out again so that you’re not the focus for too long.
The overall strategy will be similar to previous Tower Bosses in a lot of ways, with Saya & Selyne simply being the most challenging to apply it for. As long as you keep track of your surroundings as well as the health of your Pals, you’ll have the game plan needed to win. If you’re still struggling, consider trying out some new weapons or bringing a new team of Pals. Either one can be what you need to gain that extra bit of edge for this challenging fight.
.


